
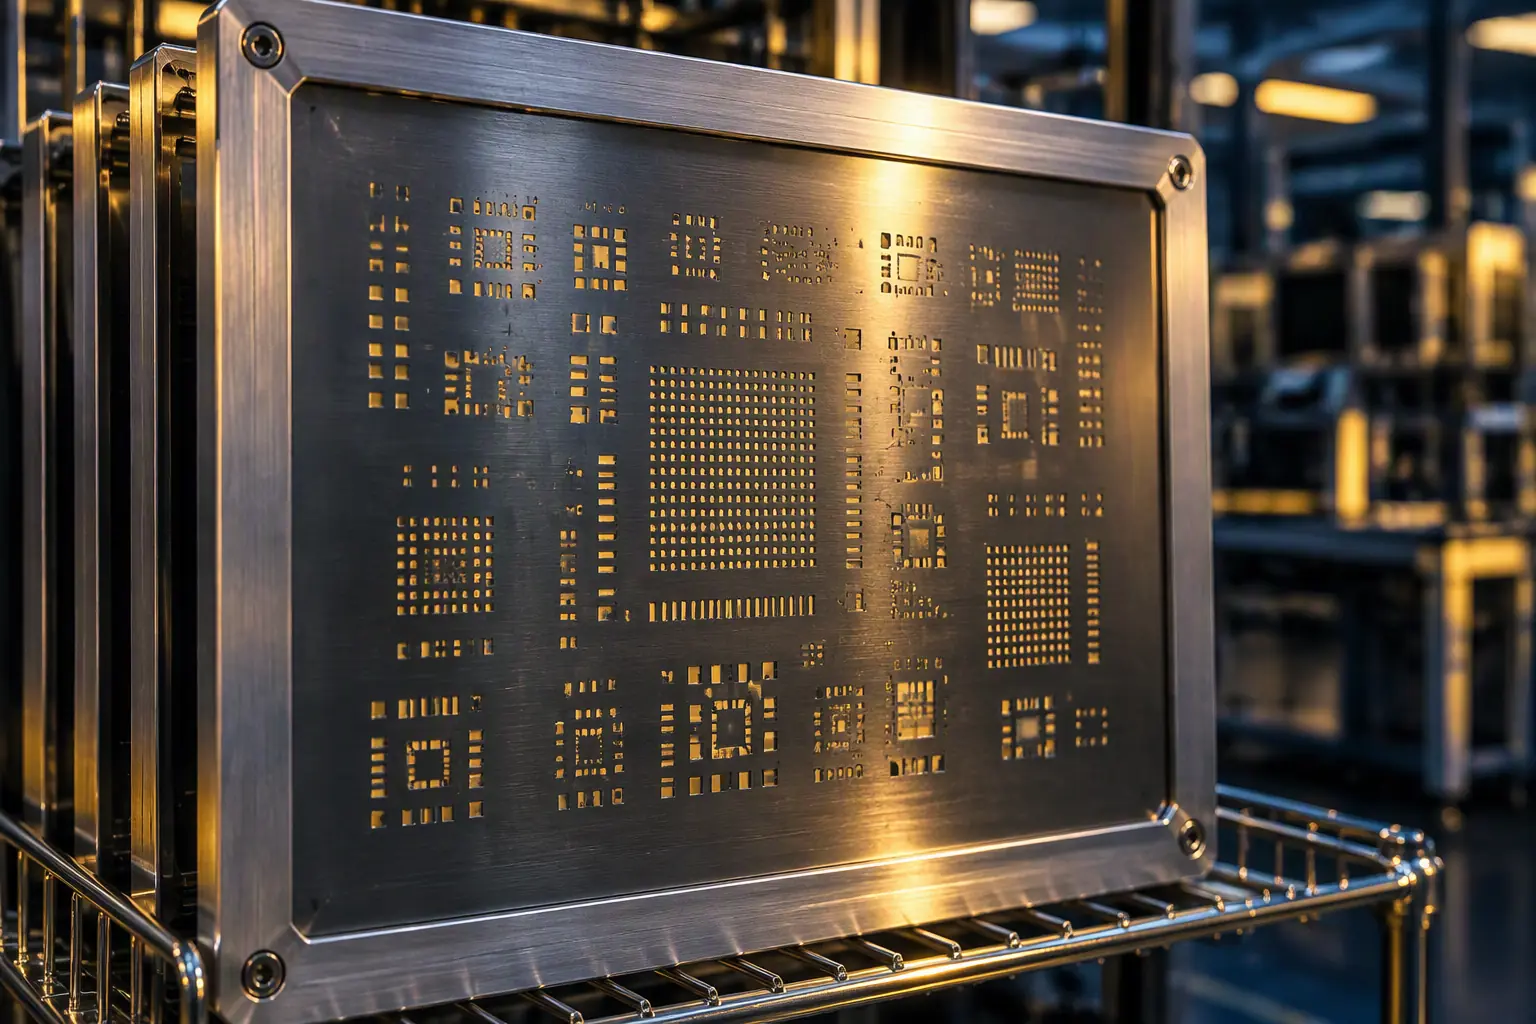
The stencil is the cheapest tool in the SMT process and the one most likely to be running past the end of its useful life. A stainless steel stencil costs a few hundred dollars; the paste defects it generates when tension drops or apertures wear cost far more, and they appear gradually enough that nobody attributes them to the tool.
Most programmes manage stencils by purchase date and replace them when someone complains. That approach fails predictably: a stencil used for 500,000 prints on a coarse-pitch board is worn out, while the same stencil used for 5,000 prints on a fine-pitch medical board is still good. Age is the wrong variable. At Huaxing PCBA, stencil condition is tracked by tension measurement and print count rather than calendar age, and the majority of "printing problems" escalated from our lines turn out to be a consumable or tool condition issue rather than a machine setting.
What Actually Wears Out on a Stencil
Stencils fail through four independent mechanisms, and each one produces a different defect signature. Knowing which is degrading tells you whether to clean, re-tension or replace — and whether the root cause is the tool or the process around it.
Mesh Tension Loss — The Silent, Progressive Failure
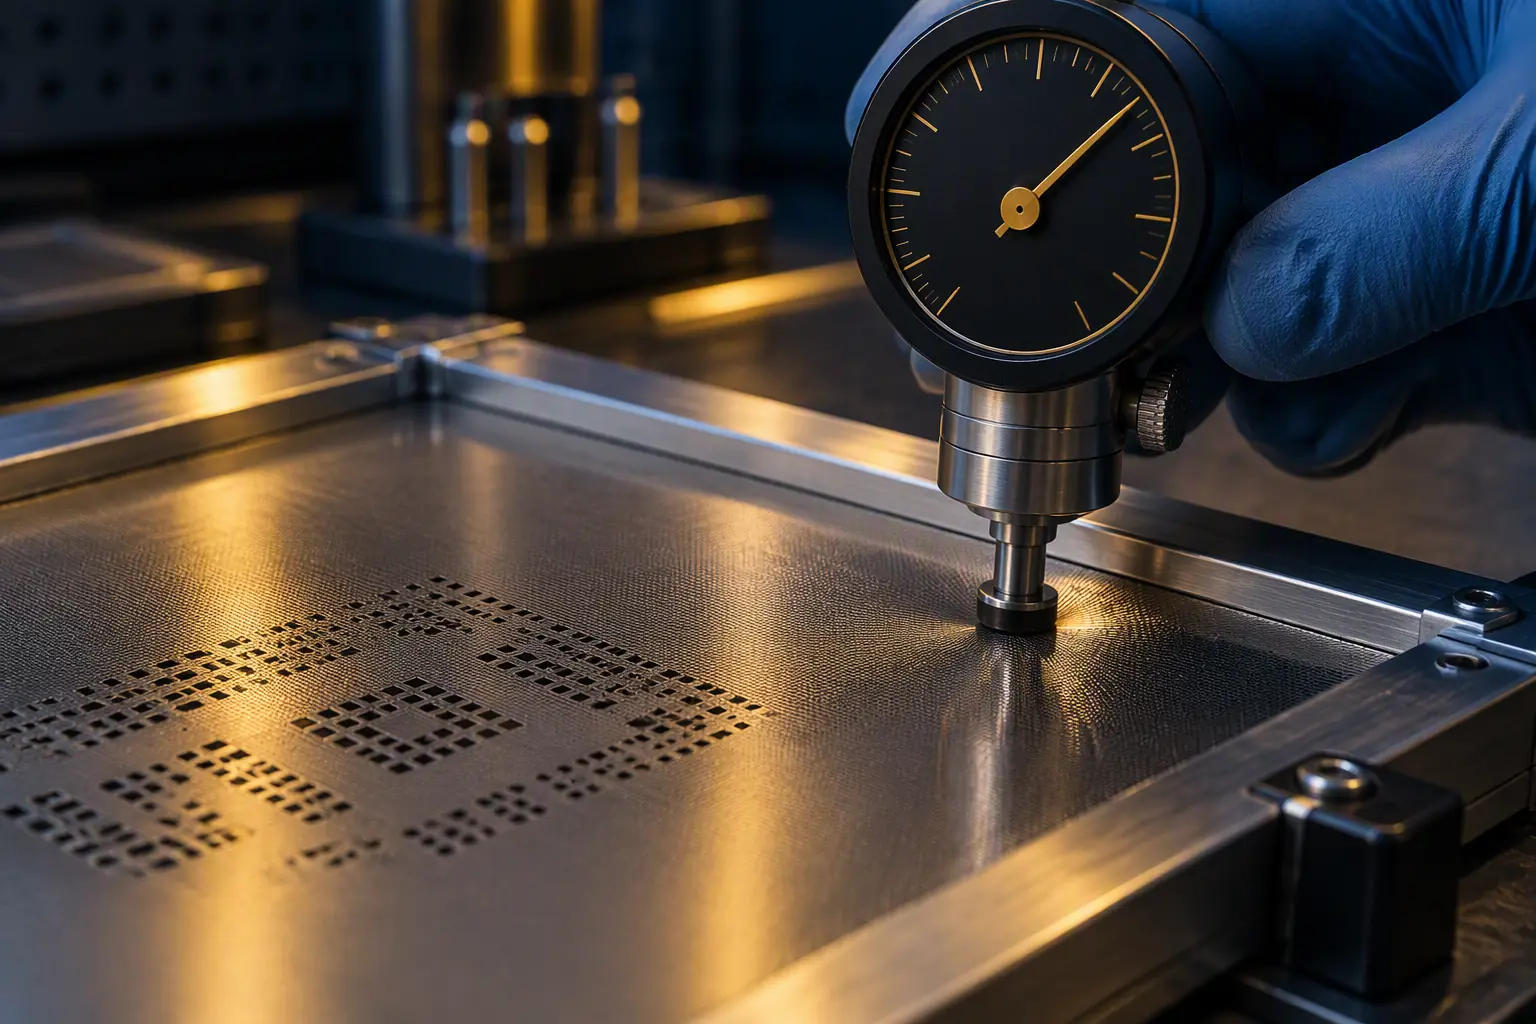
Framed stencils hold the steel foil in tension, typically specified in the 35–50 N/cm range for standard SMT work. Tension decays with every print cycle and every cleaning cycle, and it decays faster with aggressive cleaning solvents and high-pressure wash. As tension drops the foil begins to gap from the board surface during the print stroke, paste is pushed under the stencil instead of through the aperture, and you get smearing, bridging and inconsistent deposit volume. Crucially, the degradation is gradual: yields drift down over weeks and the tool is rarely suspected. Measure tension with a tensiometer at four points (0°, 90°, 180°, 270°) and record it. Our stencil design guide covers the aperture geometry that determines how much tension loss the tool can tolerate before defects appear.
Aperture Wear and Wall Erosion
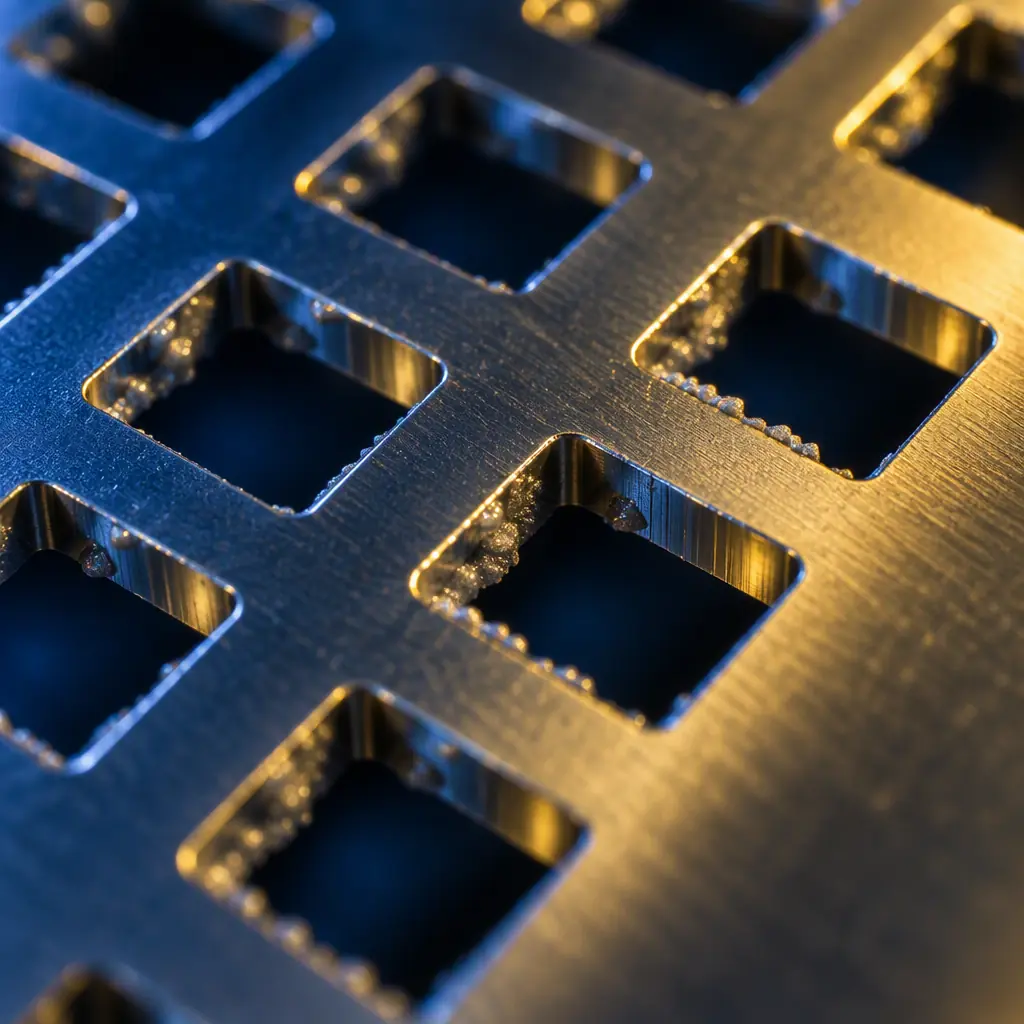
Every print cycle drags metal paste across the aperture walls, and every squeegee stroke wears the foil surface. Over time aperture walls become rounded and slightly enlarged, and the aperture edge — the point that controls paste release — loses its sharpness. A rounding of a few microns is enough to change transfer efficiency on fine-pitch apertures. Wear accelerates with abrasive pastes, with excessive squeegee pressure used to compensate for a badly set up printer, and with poor cleaning. Check with a microscope at the aperture edges on a sample of fine-pitch locations, comparing against the original Gerber-derived aperture size.
Foil Damage — Dents, Creases and Kinks
This is the failure mode that appears suddenly. A dropped stencil, a squeegee blade dropped on the foil, or a board placed on the stencil during handling leaves a crease or dent. The damage is often small enough to miss visually but large enough to distort the local plane of the stencil, causing a gap that smears paste across several apertures. This is why handling discipline matters more than any maintenance schedule: stencils should be carried in a frame rack, never laid flat on a bench, and never cleaned by anyone who does not know the tool is prescriptive. Inspect the foil in a raking light at each clean — a crease shows as a visible distortion line.
Blocked and Partially Blocked Apertures
Paste residues cure inside apertures during reflow when the stencil is in proximity to the oven, or simply dry during a pause in production. A partially blocked aperture delivers less paste, producing a weak joint that passes AOI and fails in the field. Under-stencil cleaning between prints manages this during production; the risk is between shifts and over weekends, when a stencil is left uncleaned. Require cleaning at end of shift without exception, and verify with a backlit inspection when the stencil returns to the line. The relationship between paste volume and joint quality is quantified in our SPI process control guide.
Key Takeaway: Write three numbers onto every stencil's travel record — initial tension, minimum acceptable tension, and the print count at which it must be re-measured. A stencil without a tension history is a stencil nobody can judge. The most common cause of unexplained fine-pitch yield drift in a mature process is a stencil that has been in service for years without a single tension measurement.
Cleaning: Procedure, Chemistry and Frequency
Cleaning is where most stencil damage is actually caused. The goal is to remove paste residue without removing tension or eroding the aperture walls, and those objectives pull in opposite directions.
For in-line under-stencil cleaning, the wipe material, solvent and vacuum settings should be set against the paste chemistry, not against a default recipe. For manual cleaning, the sequence matters: remove gross paste with a soft squeegee or lint-free wipe while the paste is still wet, then clean the apertures from both sides with a compatible solvent, then dry with filtered compressed air or a lint-free wipe. Never use wire brushes, abrasive pads, or scrapers on the paste side of the foil. Never use a solvent that the paste manufacturer has not qualified for the chemistry — some solvents swell residues and drive them deeper into the aperture.
| Cleaning Method | Effective For | Effect on Stencil Life | Frequency |
|---|---|---|---|
| Automatic under-stencil wipe (vacuum + solvent) | Water-soluble and no-clean pastes, high volume | Low to moderate wear if wipe material and vacuum are set correctly | Every 5–20 prints, set by paste and aperture density |
| Manual solvent wash, both sides | End of shift, all chemistries | Low if soft tools and compatible solvent used | End of every shift, mandatory |
| Ultrasonic cleaning | Heavily blocked apertures, periodic deep clean | Moderate — can accelerate foil fatigue and aperture edge wear | Only when backlit inspection shows blockage; not routine |
| Abrasive or wire-brush cleaning | Nothing — should not be used | Severe, immediate aperture damage | Never |
| High-pressure spray without support frame | Large-aperture coarse work only | High tension loss per cycle | Avoid on fine-pitch tools |
Two supporting habits matter as much as the method. First, store stencils vertically in a rack that supports the frame, never stacked flat and never leaning against a wall — both cause foil distortion. Second, label every stencil with part number, revision, aperture count where relevant, and a unique tool ID, so that print history and tension records attach to a physical object rather than to a job number.
Replacement Criteria: When to Retire a Stencil
Retirement should be triggered by measurement, not by defect escalation. The following criteria are practical and defensible in a supplier audit.
| Indicator | Action Threshold | Action |
|---|---|---|
| Mesh tension at any of four measurement points | Below 35 N/cm on a fine-pitch tool; below 30 N/cm on standard work | Re-tension if the frame type allows it; otherwise replace |
| Print count since last measurement | Every 25,000–50,000 prints, or every 3 months, whichever comes first | Measure tension and inspect apertures regardless of apparent performance |
| Aperture size vs nominal | More than 10–15% enlargement on fine-pitch apertures | Replace — transfer efficiency is no longer predictable |
| Foil damage | Any crease, kink or dent visible in raking light | Replace immediately; do not attempt to flatten |
| Persistent bridging or smearing after printer parameters verified | Traced to the stencil rather than paste or printer | Replace and re-baseline SPI deposit volume |
| Design revision | Aperture layout or component changes | New stencil; retire the old tool from the line |
Establishing a Stencil Register
The practical output of all of the above is a one-page register per stencil. It does not need software; a printed sheet attached to the storage rack works, provided it is actually filled in. The register should carry the tool ID and part number, the date of manufacture and supplier, the initial tension reading, the current tension reading with date, the cumulative print count, the last inspection date and result, and the next scheduled measurement date.
The register changes behaviour in two ways. It makes the tool's condition visible to everyone on the line instead of only the process engineer, and it creates the data trail that lets you correlate a yield event with a tool change. When a fine-pitch defect spike occurs, the first question becomes answerable in seconds: which stencil was running, what was its tension, and how many prints since it was last measured.
If you are a buyer rather than a manufacturer, this register is also one of the more useful things to request during a supplier evaluation, because it is cheap to produce and hard to fake convincingly. A supplier with a maintained stencil register is a supplier that manages consumables systematically. The wider set of tooling records to request is listed in our NRE and tooling cost guide, and our supplier quality scorecard guide shows how to weight consumable management among the other supplier metrics.
Procurement tip: Ask your supplier whether stencils are dedicated to your programme or shared across jobs, and who owns them. Shared stencils wear faster, are harder to trace, and make defect attribution slower. Dedicated tooling with a documented tension history costs slightly more in NRE and is normally worth it on any programme above a few thousand units — the cost of one escaped fine-pitch bridging defect at the customer usually exceeds the tooling difference.
Summary / Next Steps
Stencils are consumables with a measurable end of life. Track tension rather than age, clean to a defined procedure with a compatible chemistry, handle the foil as a precision component, and retire on measurement thresholds rather than on defect escalation. The three numbers that make this work — initial tension, minimum tension, and re-measurement interval — take ten minutes to establish and remove an entire class of unexplained fine-pitch yield drift.
At Huaxing PCBA, stencils for customer programmes are dedicated tooling, inspected on a documented cycle and logged with tension readings and print counts, with under-stencil cleaning tuned to each paste chemistry. Our assembly operation runs 8 SMT lines with SPI on every line and laser-cut or electroformed stencils produced to the aperture design in your Gerber, under an IATF 16949 and ISO 9001 quality system. Our stencil design guide covers the aperture and foil specification that determines tool life before you order a single unit, or contact our engineering team to review the stencil strategy for your programme.
