

New Product Introduction (NPI) is where hardware products go to succeed or slip. The engineering is done, the schematic is final, the layout is routed, and yet a typical NPI run still takes 8-16 weeks from design freeze to production ramp, and a large share of that time is spent fixing problems that were visible on day one: unmanufacturable footprints, obsolete parts in the BOM, test coverage gaps, and documentation mismatches between customer and factory.
This guide walks through the NPI stages, EVT, DVT, PVT, pilot run, ramp, with the milestone gates that define each one, what your contract manufacturer should deliver at every stage, and the five failure points that cause most schedule slips. We run NPI programs for customers across automotive, medical, industrial, and IoT at Huaxing PCBA, so the timelines and checklists here are the ones we use internally. For the cost side of the same journey, pair this with our prototype vs production cost breakdown.
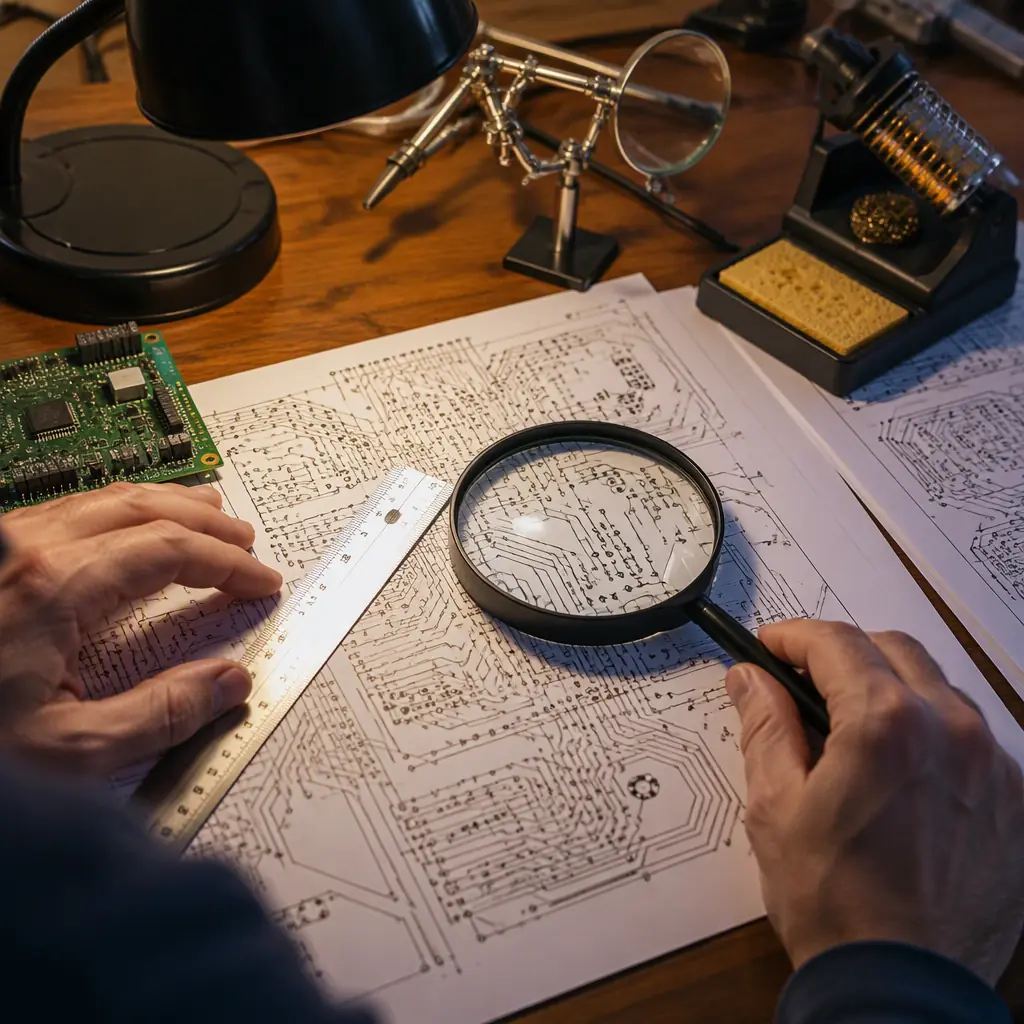
The NPI Timeline: What Realistic Schedules Look Like
Before the stage details, set expectations. The schedule below assumes a mature design (no board respins) and a CM with existing process qualification for your board type. Add 2-4 weeks per board respin.
| Stage | Typical Duration | Gate to Pass | Boards Produced |
|---|---|---|---|
| DFM review + quote | 3-5 days | All DFM issues closed or accepted | , |
| Prototype / EVT | 1-2 weeks | Design validated, BOM locked | 10-50 |
| DVT | 2-4 weeks | All test coverage verified, reliability started | 50-200 |
| PVT | 2-3 weeks | Process qualified, yield target met | 200-500 |
| Pilot run | 1-2 weeks | Production line signed off | 500-2000 |
| Production ramp | Ongoing | Stable yield ≥ target | Volume |
Design freeze is the real start line
Nothing below happens efficiently until the schematic, layout, BOM, and fabrication files are frozen under version control. Every change after freeze cascades: DFM re-review, BOM re-risk, test fixture rework. Companies that treat NPI as "we'll fix it during proto" are the ones with 6-month slips. The DFM rules that prevent most freeze-time surprises are in our DFM tips guide.
Week-by-week communication cadence
For offshore manufacturing, schedule a fixed weekly NPI call (same day, same time) with a written agenda and action items. The timezone gap is manageable when the cadence is ritual, it is deadly when communication is ad hoc. A 30-minute weekly call costs 2 hours of calendar per week and saves weeks of rework over an NPI cycle.
Stage 1. DFM Review: The 5-Day Window That Decides Your Yield
The DFM review is the highest-leverage stage in NPI. It costs nothing (most CMs include it with the quote), takes days, and catches issues that would otherwise surface as scrap in PVT.
What a real DFM report contains
Panel layout and utilization, minimum trace/space vs your CM's capability, annular ring and drill tolerance checks, solder mask slivers, impedance coupon placement, footprint-to-land-pattern verification for fine-pitch parts, and test point coverage. If the DFM report is a one-page "no issues found," ask for the detail, a thorough report is 5-15 pages.
Verify against the actual factory, not industry averages
Industry-standard minimums (4/4 mil trace/space, 0.2 mm drills) are not your CM's minimums. A factory running 8 SMT lines with 0201 and 01005 experience may have different fine-pitch rules than a smaller shop. The DFM review is the moment to align the design to the specific factory's capability matrix. Assembly process steps are covered in our assembly process guide.
Lock the panelization before prototype
Panel layout affects cost, depaneling stress, and test access. Agree on panel size, array count, fiducials, and tooling holes during DFM, changing panelization after PVT invalidates the process qualification. Depaneling method selection is covered in our depaneling methods guide.
Key Takeaway: Treat the DFM review as a gate, not a formality. Close every finding with an action owner and a date. This single discipline eliminates the majority of NPI schedule slips.
Stage 2, EVT: Proving the Design Works
Engineering Validation Testing answers one question: does the design function as intended? At this stage the CM's job is fast, accurate prototype assembly with full documentation of what was done.
Prototype quantity: enough for test, not for faith
Order 10-50 boards covering: functional bring-up, thermal testing, reliability samples (if any), and spare. More boards than needed burn budget; fewer stall the team when a test fails and needs rework. Prototype cost structure is detailed in our prototype cost guide.
Demand build documentation at EVT
The CM should return: assembly photos, reflow profile used, any deviations from the BOM (alternates substituted), and test results. This documentation becomes the baseline for DVT. Without it, you cannot tell whether a DVT failure is a design issue or a process deviation.
Lock the BOM at the EVT gate
EVT is when the BOM must be finalized: alternate sources qualified, long-lead parts ordered for DVT/PVT, and every part verified as active and available. Parts that slip in after EVT restart the risk assessment. Component lifecycle management is covered in our obsolescence management guide.
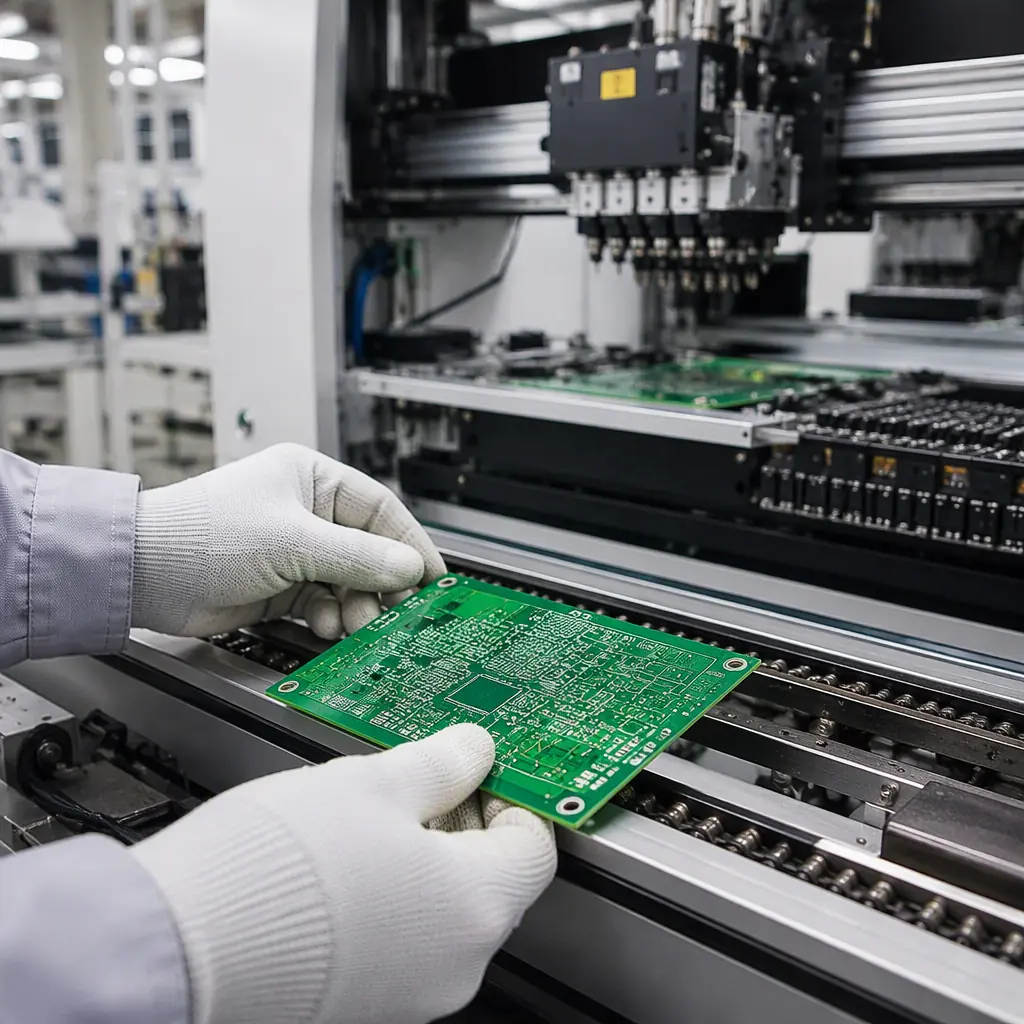
Stage 3, DVT: Test Coverage and Reliability in Parallel
Design Validation Testing proves the product meets requirements. Two workstreams run in parallel: electrical test coverage verification and reliability testing.
Verify the test strategy on real boards
AOI and X-ray catch assembly defects; flying probe or ICT verify connectivity; functional test proves the board works as a system. At DVT, confirm each test catches the defects it is supposed to, inject known defects (missing part, wrong orientation) into sample boards and confirm the test chain flags them. Test method selection is covered in our testing methods guide and flying probe vs ICT vs functional test comparison.
Reliability testing starts at DVT, not after launch
Thermal cycling, vibration, and burn-in should begin on DVT boards so failures surface while the design can still change. Starting reliability at PVT means every finding costs a respin. Our thermal cycling guide and vibration testing guide cover the standards and sample sizes.
Design for testability pays at DVT
Test points that were "nice to have" in layout become critical when the test fixtures are built. If the DFT review was skipped, DVT is where the cost shows up: extra fixture iterations, uncovered nets, manual probing. The DFT checklist is in our DFT guide.
Stage 4, PVT: Qualifying the Process, Not the Design
Production Validation Testing is where the design meets the factory's real process. The goal: prove the manufacturing process can hit yield targets repeatably.
Run PVT on the production line with production tools
PVT must use the actual SMT line, stencils, fixtures, and operators that will run volume, not the prototype area. If the PVT build is assembled on a different line, the process qualification is meaningless. Typical PVT yield targets: 95-99% first-pass yield for mature assembly processes, depending on board complexity.
Define yield and DPPM targets before PVT starts
Agree on the numbers in advance: first-pass yield, defect rate in DPPM, and rework ceiling. Without agreed targets, every PVT discussion becomes a debate. Industry benchmarks for context are in our DPPM benchmarks guide.
PPAP documentation at the PVT gate
For automotive and medical programs, the PVT gate is when PPAP documentation is compiled: process flow, FMEA, control plan, capability studies, and measurement system analysis. Even outside regulated industries, a light PPAP discipline (process flow + control plan + inspection criteria) prevents quality drift after ramp. The full 18-element breakdown is in our PPAP guide.
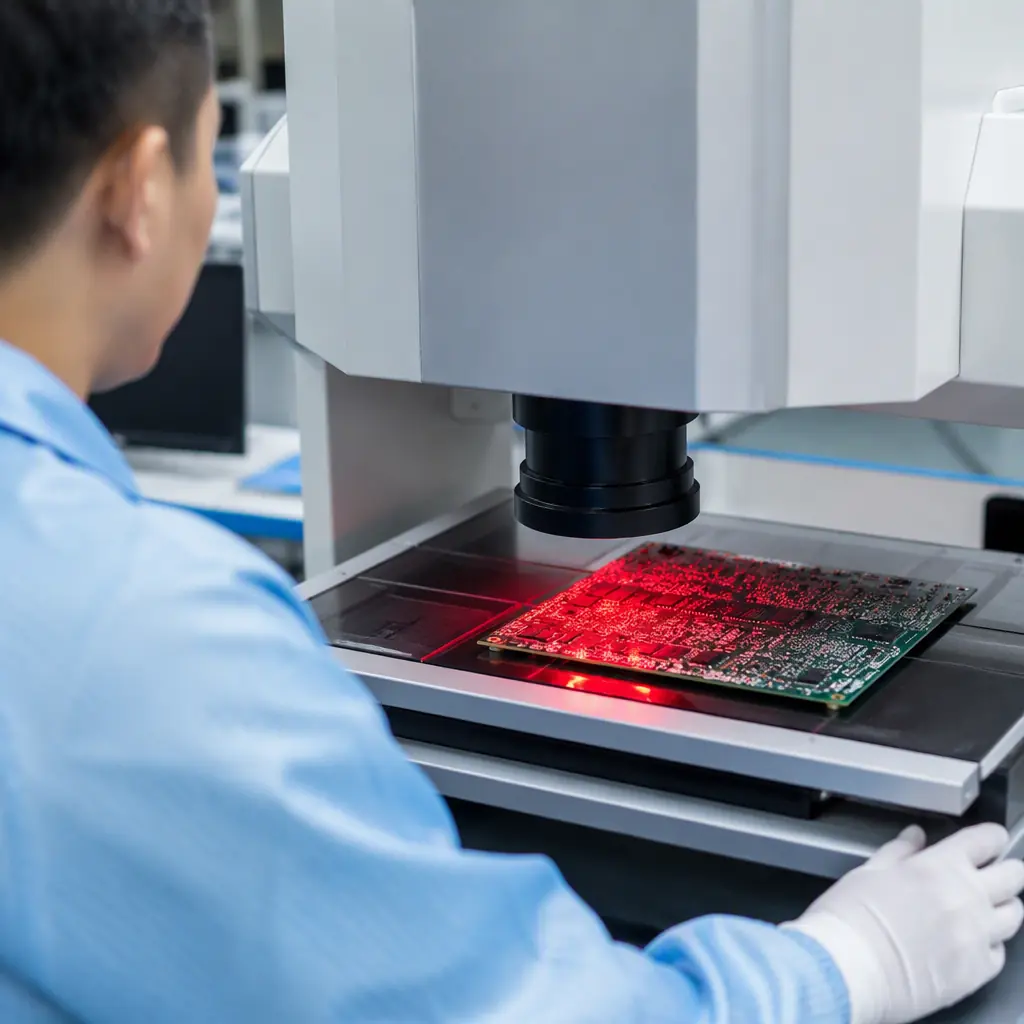
Stage 5, Pilot Run and Ramp: The First Real Volume
The pilot run is the final dress rehearsal, the first build that resembles volume production in every way.
Pilot run checks the supply chain, not just the line
The pilot exposes supply chain issues: parts arriving on time, alternate sources performing, packaging surviving transit. This is also the moment to validate the first article inspection process, see our FAI guide for what to verify on the first production boards.
Ramp in stages, not all at once
Ramp from pilot volume to 25% → 50% → 100% of target, holding each step until yield and quality metrics stabilize. A staged ramp converts a potential quality crisis into a manageable adjustment. Rushing to full volume on week one is the most common cause of ramp-phase scrap.
Establish the ongoing quality scorecard
Move from NPI metrics to production metrics: weekly DPPM, first-pass yield trend, on-time delivery, and corrective action closure rate. A supplier scorecard started at ramp gives you the data to manage the relationship for years. KPI design is covered in our supplier scorecard guide.
The Five Failure Points That Slip Every NPI Schedule
Across the NPI programs we run, the same five issues cause the majority of schedule slips. Each has a cheap prevention.
| Failure Point | Symptom | Prevention |
|---|---|---|
| BOM changes after freeze | Restarts risk assessment, delays parts | Freeze gate with change-control board |
| Obsolete or long-lead parts | Parts unavailable at PVT | Lifecycle check at EVT gate |
| Test coverage gaps | Defects escape to field | Defect-injection verification at DVT |
| Unclear documentation | Factory and customer disagree on specs | Written specs + drawing review at DFM |
| Communication gaps | Week-long email loops | Fixed weekly call + action-item log |
Key Takeaway: NPI schedules slip in predictable places. A change-control gate, a BOM lifecycle check, test coverage verification, written specs, and a fixed call cadence close all five failure points for a few hours of process discipline.
Running NPI with a Chinese CM: The Practical Playbook
Offshore NPI adds distance but removes nothing from the stage discipline. Four practices keep it smooth:
Put every requirement in writing with a drawing number
Verbal agreements do not survive timezone gaps or staff changes. Every spec, coating, cleanliness, test requirements, packaging, goes into the drawing or a written specification referenced by the PO. Contract terms that protect you during NPI are covered in our IP protection guide.
Use sample approval to close every decision
First articles, color samples, coating thickness samples, approve them physically, in writing, with photos. "Approved" in an email is weaker than "approved" with a signed sample record. The first-article process is detailed in our FAI guide.
Consider turnkey for NPI, consignment for ramp
Many customers run turnkey (CM sources all components) during NPI, the CM's supply chain absorbs obsolescence and lead-time risk while volumes are uncertain, then shift toward consignment or hybrid as volumes stabilize. The trade-offs are compared in our consignment vs turnkey guide, and full-service options in our turnkey assembly guide.
Plan the first production order's quotes early
Get volume quotes before PVT ends, so the ramp decision is not delayed by a pricing round. Quote comparison traps are covered in our quote comparison guide.
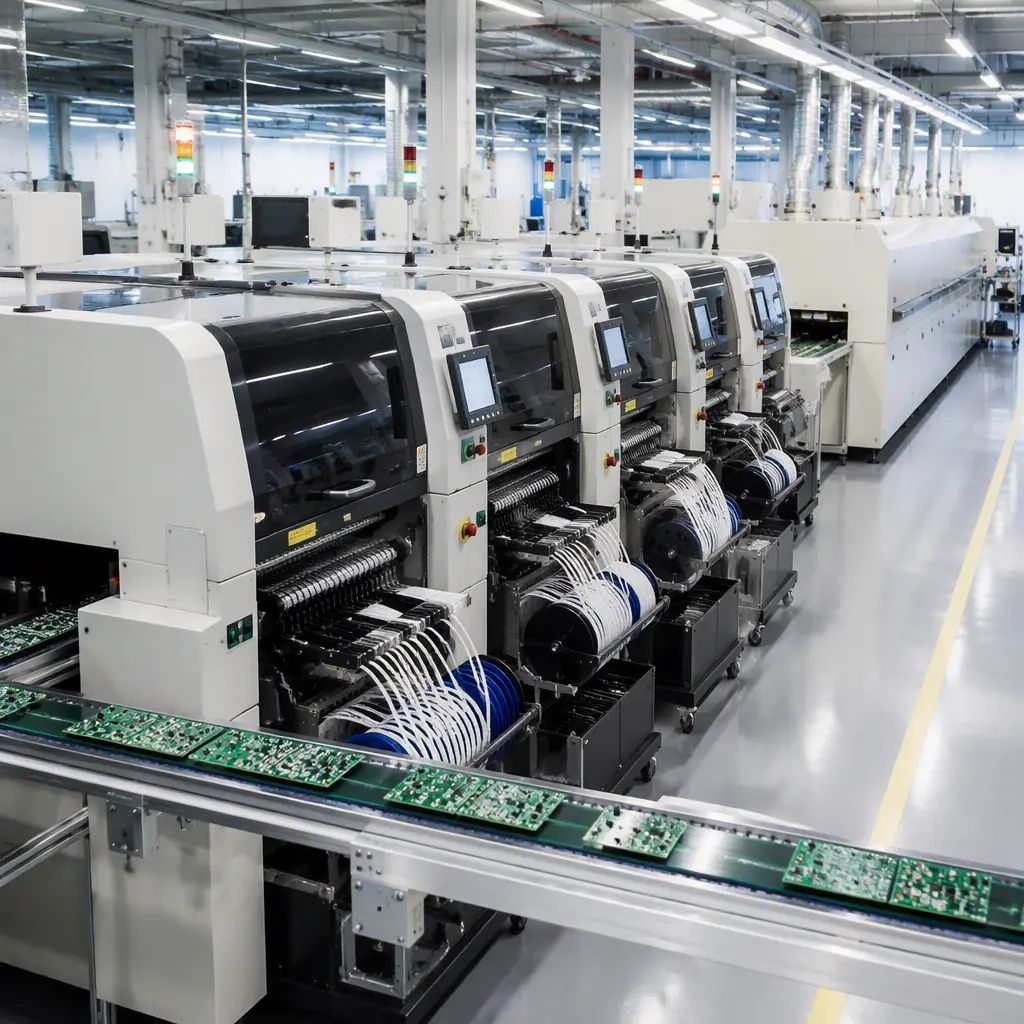
Summary: Your NPI Gate Checklist
Before DFM: files frozen, specs written, drawing numbers assigned
No exceptions, the freeze is the contract.
At EVT gate: BOM locked, alternates qualified, long-lead parts ordered
Build documentation received and filed.
At DVT gate: test coverage verified with defect injection, reliability started
Test fixtures qualified on real boards.
At PVT gate: yield targets met on the production line, PPAP/control plan compiled
Process qualified with production tools.
At ramp: staged volume, scorecard live, weekly call cadence continues
NPI ends when production metrics take over.
At Huaxing PCBA, NPI is a defined program, not an ad hoc service: dedicated NPI engineer, DFM report with every quote, EVT-to-ramp documentation, and PPAP support for automotive and medical programs. Our 8 SMT lines and in-house test engineering cover prototype through volume without a supplier switch, the leading cause of NPI re-qualification. Designing boards for immersion-cooled infrastructure? Read our immersion cooling guide, or explore battery-free IoT design. To start your NPI program, contact our engineering team.
