
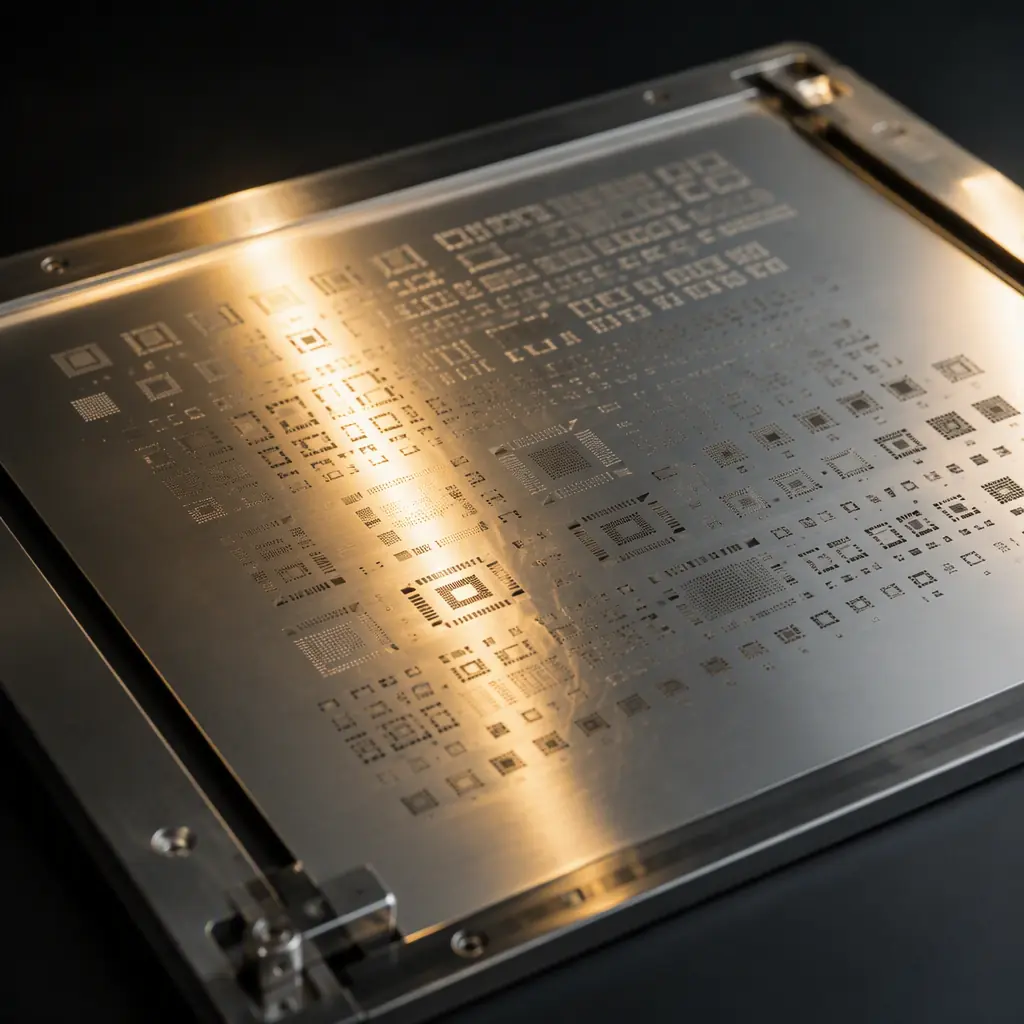
Stencil tooling is one of the least visible line items in a PCBA quote, yet it is often the single largest non-component cost on a small run. A conventional stencil is laser-cut or electroformed from a sheet of stainless steel, then stretched and bonded to a fixed aluminum frame. That frame and the bonding process carry real set-up cost: typically $150–$400 each depending on aperture density, thickness and supplier, and the cost re-appears every time you revise the board.
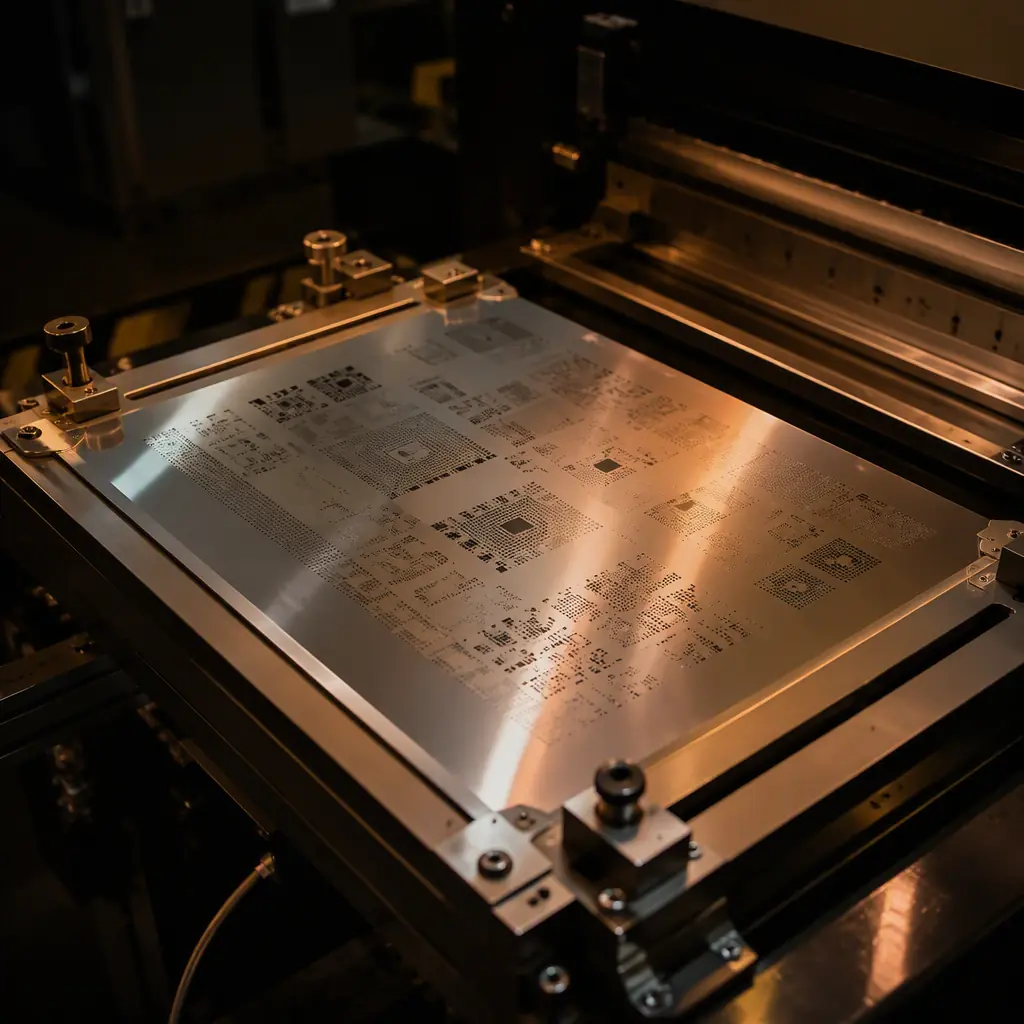
Zero-tooling (also called frameless, tooling-free, or PTP for "prototype") stencils remove the rigid frame entirely. The stencil foil is held flat either by a tension device built into the printer or by a reusable frame adapter. That single difference compresses the set-up economics on a prototype or low-volume job, which is exactly why Huaxing PCBA defaults to them on 24-hour quick-turn assemblies where design iterations happen overnight.
Why Stencil Tooling Cost Hits Small Runs So Hard
The stencil is not purchased once, it is a living consumable. Every time your footprint, pad size or solder paste volume changes, the apertures change, and a new stencil is required. On a mature product with a stable design, that amortises over tens of thousands of boards. On a prototype, it does not.
Set-Up Cost Is Fixed, Volume Is Not
Whether the stencil prints 10 boards or 100,000, the tooling cost is the same. A framed stencil's cost is independent of run size, so on a 10–20 board prototype the tooling can exceed the value of the bare PCB itself. See our MOQ and cost guide for how per-unit cost scales on small quantities.
Design Iteration Compounds the Cost
Prototypes rarely ship the first time. If you revise the layout and need a new stencil each round, a framed stencil re-bills the full tooling charge every cycle. A tooling-free option lets you re-open the design without eating that charge. Pair it with a quick-turn PCB service to compress the whole loop.
It Feeds Your DFM And Assembly Learnings
The whole point of a prototype is to learn and iterate. When the stencil is cheap to replace, you are far more likely to tune the aperture ratio, pad size and solder paste volume to reduce defects, and that knowledge carries into production. See our design-for-assembly guide for the layout decisions that matter.
Framed vs Frameless (Tooling-Free) Stencils
The engineering difference is simple: how the foil is held flat during the print stroke. Both can deliver identical paste deposition if set up correctly; the differences are in cost, repeatability, and board size limits.
| Attribute | Framed Stencil | Frameless / Tooling-Free |
|---|---|---|
| Set-up cost | $150–$400 per stencil | Near zero; reuse frame |
| Tension / repeatability | Excellent; stable tension | Good; tension depends on frame |
| Best run size | Production, high volume | Prototype, low volume, pilot |
| Max board size | Large panels | Typically up to ~400×400 mm |
| Storage / handling | Bulkier, frame to store | Foil rolls flat, easy to archive |
| DFM iteration | Re-bill tooling each revision | Cheap to replace each revision |
Laser-Cut vs Electroformed Foils
Two manufacturing methods dominate stencil production. The choice affects aperture quality and therefore how cleanly the paste releases from the wall.
Laser-Cut Stencils
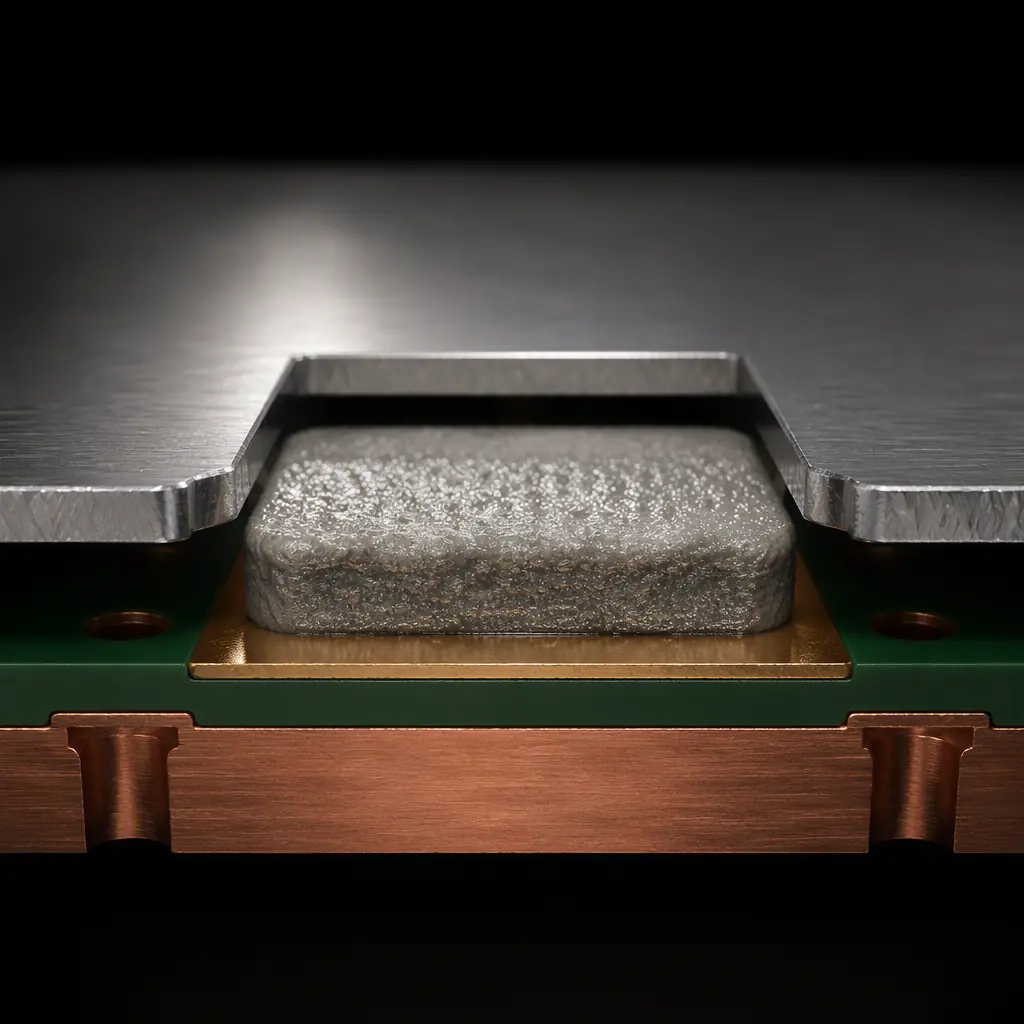
A fiber laser cuts each aperture and typically results in a slightly rough wall with a fine taper. Good for most SMD work and the most economical per stencil. For fine-pitch and micro-BGA the taper can reduce release, so aperture design must compensate. See our fine-pitch assembly guide for the tightest pitches.
Electroformed Stencils
Electroformed foils grow the aperture wall from a mandrel, giving a smooth, near-vertical wall and a clean trapezoid. They release paste better at low aperture ratios, which is why they are preferred for 0.3 mm pitch and below, at a higher price. Pair with our solder paste selection guide to match paste type to pitch.
Foil Thickness Related to Pitch
Thickness sets the paste volume. A 0.125 mm foil is typical for fine-pitch; 0.15–0.20 mm for standard 0402 and larger. The rule of thumb is the area ratio, the area of the aperture opening divided by the wall area, should stay above roughly 0.66 for reliable release.
When Zero-Tooling Is The Right Call
Frameless stencils are not a blanket replacement for framed ones. Use them where their economics clearly win.
Prototype And First-Article Builds
The classic case: a few boards to prove the design. With near-zero tooling cost you can afford a stencil per revision without worrying about the cost per board. This dovetails with prototype vs production thinking.
Low-Volume And Pilot Runs
Deployments of tens to a few hundred boards, a field trial, a beta, an industrial install, where the stencil would otherwise dominate unit cost. See our low-volume assembly guide.
Frequent Design Iteration
If you are actively evolving the board, moving a connector, changing a pad style, tuning an RF footprint, the cheap swap cost of a tooling-free foil pays for itself repeatedly. Our DFA guidelines cover the changes that typically force a re-spin.
Specifying A Stencil For Your Run
Two or three sentences to your assembly partner is enough to get the right stencil, if you give the right parameters.
Give The Pitch And Paste Type
State the finest pitch (for example, 0.4 mm QFN or 0.3 mm BGA) and your solder paste (Type 4 vs Type 5). Pitch drives foil thickness and aperture geometry; paste type drives aperture area ratio. Our solder paste guide explains the choice.
Specify The Print Chemistry
Tell your supplier whether you run no-clean, water-wash or RMA flux, it changes stencil cleaning requirements and the aperture spec. Cleaning frequency also feeds your PCB cleaning process decision.
Let A DFM Review Catch Problems First
Before you commit to a stencil, a quick design-for-manufacture review identifies pad-to-aperture mismatches and marginal area ratios. Huaxing PCBA includes a free DFM review on every quote, see our DFT guidance for the testing side of the same file.
Summary, Choosing Your Stencil
For any run where the stencil cost is a meaningful share of the board cost, prototypes, pilots, and rapidly iterating designs, a zero-tooling frameless stencil wins. Reserve framed, electroformed stencils for production where tension repeatability and fine-pitch release justify the premium. And always let a DFM review catch the aperture and area-ratio issues before they reach the printer.
At Huaxing PCBA we run 8 SMT lines placing down to 0201 and 0.3 mm pitch with a 98.7% first-pass yield and support both tooling-free and framed stencil formats. We offer 24-hour quick-turn assembly and a free DFM review on the stencil aperture, solder paste and footprint layout of your design, so it releases cleanly the first time. Send your Gerber and BOM for a quote or talk to an engineer about your stencil and assembly needs.
