
A hardware team finishes a controller design, sends the enclosure out for assembly, and gets back a question that was never settled on the drawing: how do the boards fasten into the housing? Sometimes the answer is already implied by the CAD — a moulded boss with a pilot hole. Sometimes the enclosure has none, and the decision defaults to whatever the assembler normally does. That default is worth stopping on, because it is one of the few enclosure decisions that is nearly free to change before tooling and expensive to change after.
This page compares the two realistic options for putting threads into a plastic enclosure — a brass insert installed after moulding, and a thread formed directly in the plastic by a screw — on the things that actually decide the outcome: pull-out strength, how many service cycles the joint survives, what it does to the boss design, and what it costs per unit at different volumes. It closes with the four numbers a drawing should specify so the assembler is not guessing, and with the failure modes that show up in production when the boss was designed for one method and the unit was built with the other.
The Question Behind the Question
When a buyer asks whether heat-set inserts can be installed, the practical question underneath is usually about durability, not process. A plastic enclosure for a field-serviceable product gets opened in the factory, again at the customer's site for configuration, and again later for repair. Every one of those open/close cycles is a thread engagement event, and plastic threads do not wear like metal threads — they yield. A design that is opened twice in its life and a design that is opened twenty times are not making the same decision, even if the enclosure and the screw are identical.
The second question underneath is about load. A screw holding a 30-gram board against a housing wall carries almost nothing. A screw clamping a heat sink, a battery pack, or a metal chassis bracket into the same plastic boss carries a preload that the plastic has to survive continuously, at whatever temperature the product reaches in service. Those two cases behave very differently in the same boss.
Note that this is a housing and assembly question, not a board question. If the joint design is still open, the relevant board-side context — panelisation, mounting holes, keep-out around fasteners — is covered in the box-build assembly guide.
Option 1: Thread-Forming Screws Straight into Plastic
The cheapest option is no insert at all. The boss is moulded with a pilot hole sized to the screw, and the screw cuts or forms its own thread on first insertion. Two families do this:
Thread-cutting screws have a sharp, slotted or bladed point that removes material as it enters. The chips stay in the boss, and the resulting thread is weaker because material was removed rather than displaced. These are common in low-cost consumer goods and are the wrong choice anywhere the joint will be opened repeatedly.
Thread-forming screws have a rounded, trilobular shank that displaces plastic outward as it turns, compressing the material around the thread instead of cutting it away. Because the plastic is under compressive stress rather than being carved, thread-forming screws hold noticeably better than thread-cutting screws in the same boss, and they can be removed and reinserted several times before the thread degrades.
The design constraints are real but manageable. The boss needs an outer diameter of roughly twice the screw's major diameter and a wall thickness of at least 0.6 to 0.8 mm at the thinnest point, or it will split on insertion or creep under load. Depth matters too: engagement should be about two screw diameters for a secure joint, which fixes the boss height. And the boss must be gated so that the weld line does not land on the screw entry — a weld line at the thread is where cracks start.
For a product assembled once and never serviced, this is a perfectly sound engineering choice. It has no insert cost, no insertion operation, and no extra part to stock. Where it fails is anywhere the thread has to survive repeated use.
Option 2: Brass Heat-Set Inserts
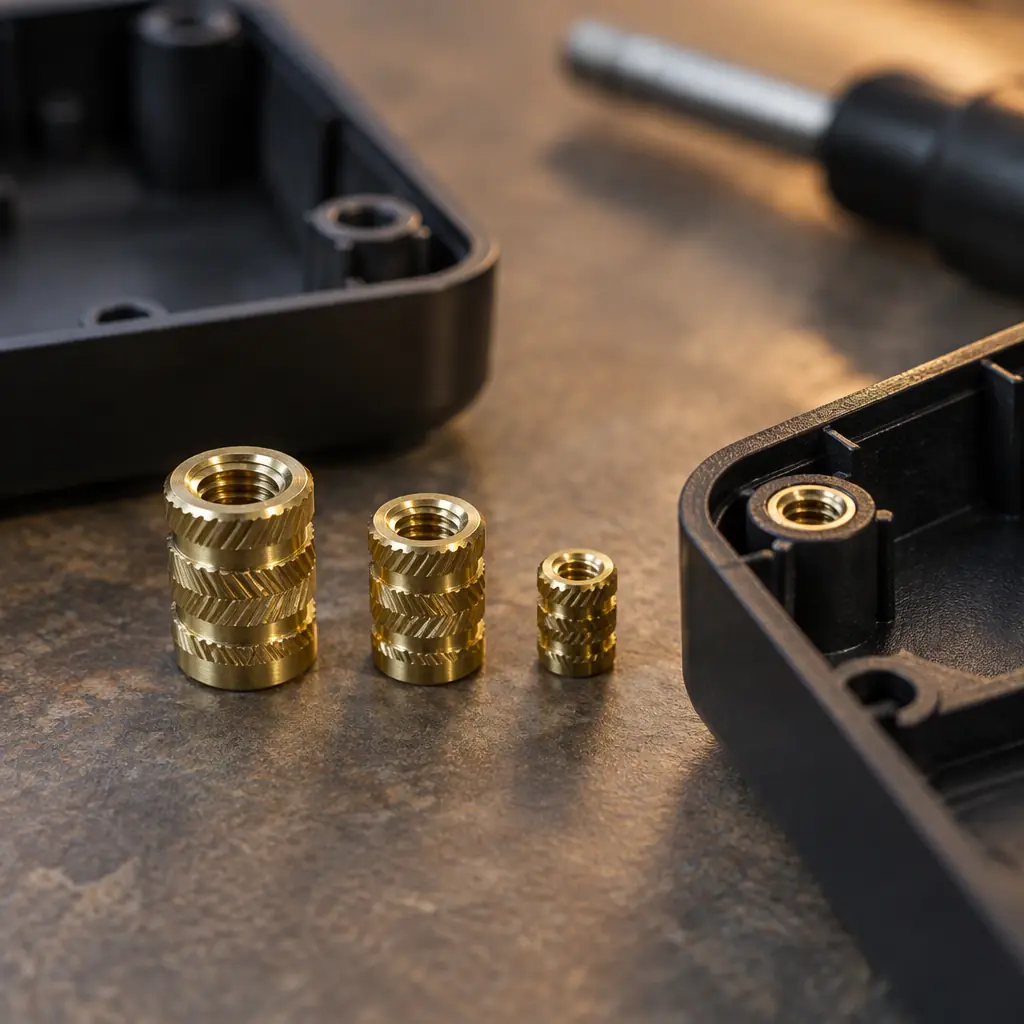
Inserts come in open and closed ends, with coarse or fine external knurl. The knurl pattern is what resists pull-out; the internal thread is what resists strip-out.
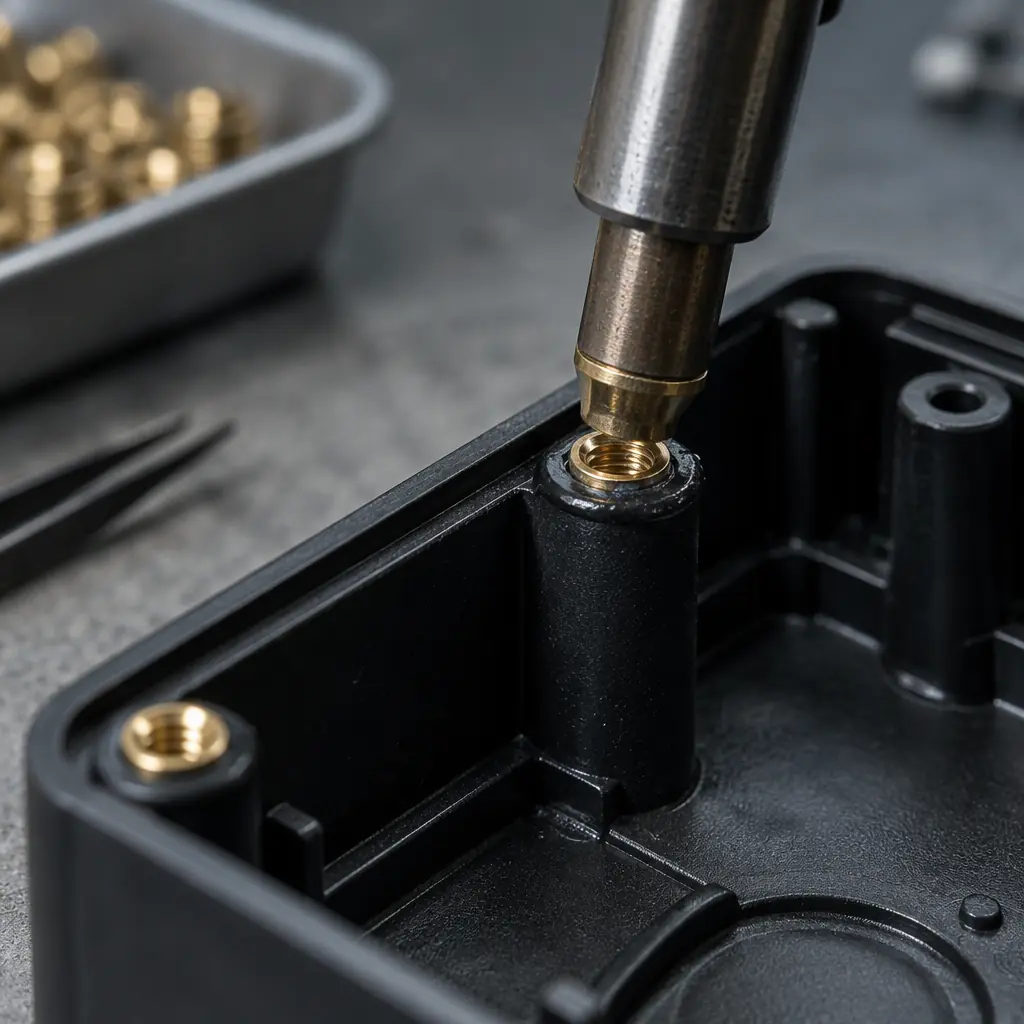
An insert is a small brass cylinder, internally threaded, with a knurled or patterned outer surface. It is installed after the housing is moulded, by heating it and pressing it into an undersized hole in the boss. The heat softens the plastic locally; the insert sinks to depth, plastic flows into the knurl pattern, and on cooling the plastic contracts and locks the insert in place. The result is a genuine metal thread — the same thread a machined aluminium part would have.
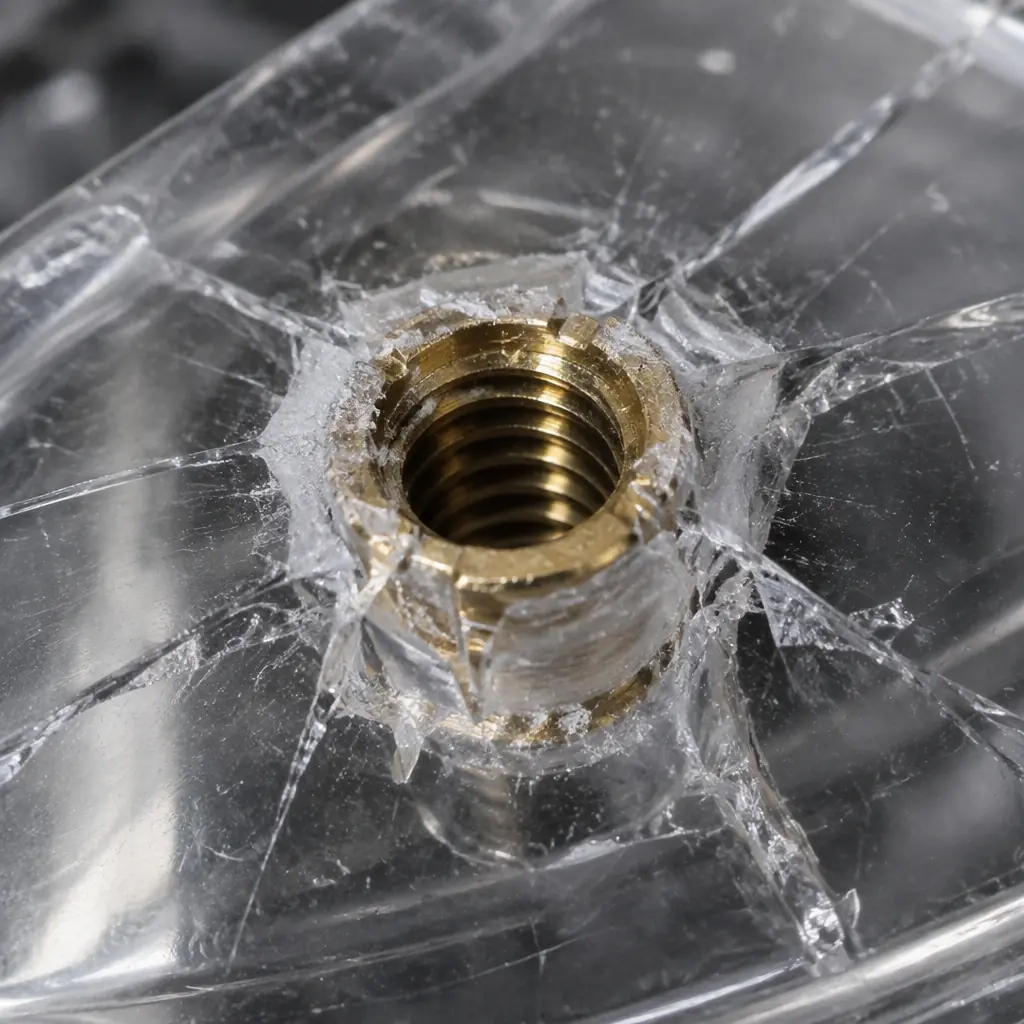
Stress cracking around an insert is almost always a boss problem — too thin a wall, too cold a tool, or an insert driven faster than the plastic can flow.
There are two installation methods and they are not interchangeable:
Thermal insertion uses a heated tip — on a soldering iron, a benchtop inserter, or a dedicated press. The tool contacts the insert and conducts heat into it, and the operator presses down to depth. It is simple, low capital cost, and the right method for low and medium volumes. The variable is the operator: depth, dwell time and downward force all affect the result, and an insert driven too fast or too hot melts more plastic than it needs to, which weakens the boss it is supposed to reinforce.
Ultrasonic insertion drives the insert with high-frequency mechanical vibration rather than conducted heat. The plastic melts at the insert interface through friction, the insert seats, and the vibration stops. Cycle time is much shorter, depth control is far tighter, and there is no risk of an overheated tool dragging a melted collar up the boss. The trade is capital cost and the need for a horn matched to the insert geometry. At higher volumes the consistency advantage usually pays for the equipment.
What Actually Fails
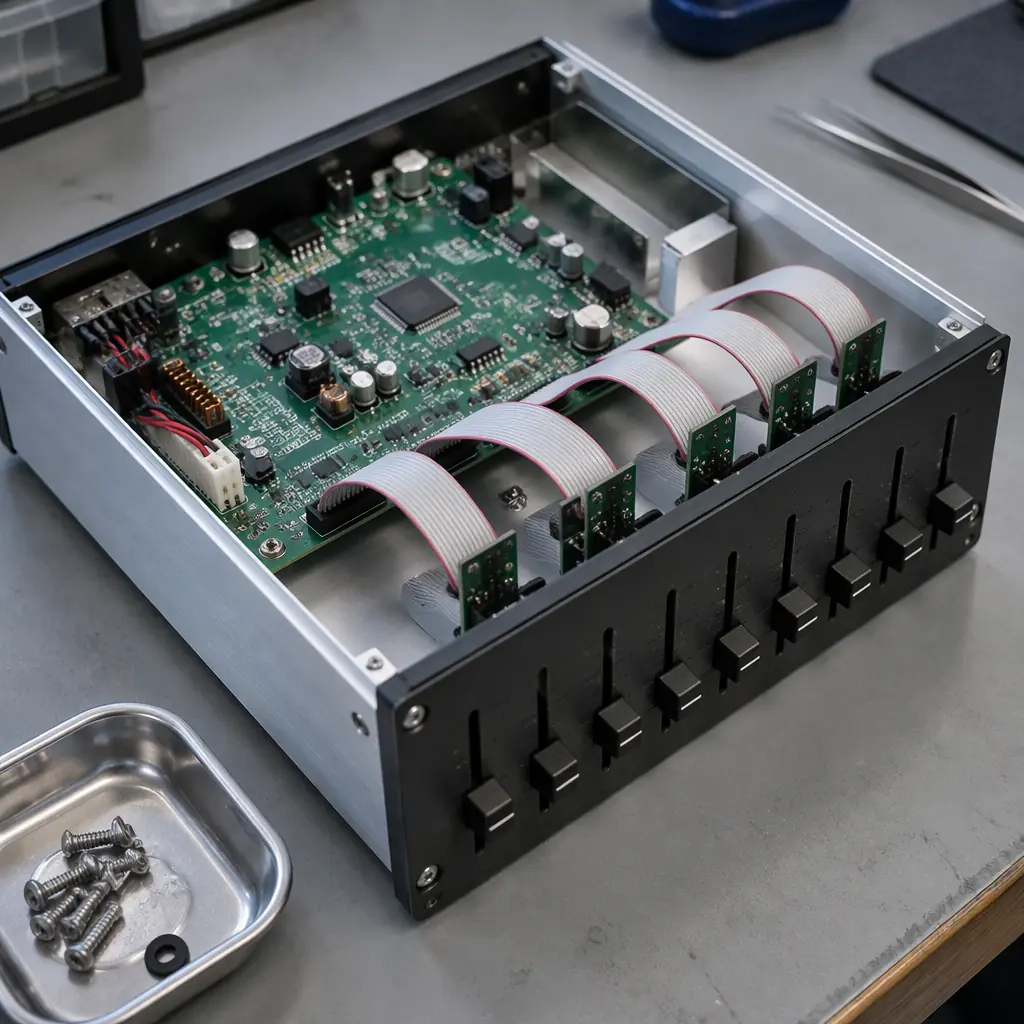
A finished unit is a stack of decisions: board, harness, panel hardware, and the fastening method that holds all of it. The fastener is usually the only one of those chosen by default.
Insert failures are not random. They fall into a small number of recognizable patterns.
Cracking at the insert rim is the most common. The plastic around the insert is under hoop stress from the interference fit plus the thermal cycle of installation. If the boss wall is thin, if the moulding was run cold, or if the insert is oversized for the boss, the stress exceeds what the material can take once it cools and the boss cracks radially. The failure often appears days later, not on the line, which makes it a field problem rather than a manufacturing escape. Clear and unfilled plastics show it immediately; black or glass-filled grades can hide it until the unit is in service.
Pull-out or spin-out under load means the insert was not properly engaged with the plastic. Contributing causes: too large a hole, insufficient insertion depth, an insert with too fine a knurl for the material, or a boss too short to hold the insert's full length. Spin-out is distinct from pull-out — the insert rotates in the boss when the screw is torqued, which usually means the knurl was not filled with plastic because the boss was too cold or the hole was too large.
Cold joints and incomplete seating happen when the insert stops short of flush. The screw then bottoms out on the insert rather than clamping the parts, so the joint looks tight but carries no preload. On a thermal inserter this is usually a worn tip or an operator compensating for a slow heat-up by pushing harder.
Thread damage during assembly is not an insert defect at all, but it is the most common reason a production line asks for a design change. An assembler driving a screw at an angle, or with a driver set too high, will cross-thread a brass insert and destroy the joint. The fix is usually a torque-limited driver and a guide, not a different insert.
Boss Design: Where the Decision Is Actually Made
Both options live or die on the boss, and the boss is fixed at tooling. This is why the choice has to be made before the mould is cut, not after the first samples arrive.
| Parameter | Thread-forming screw | Heat-set insert |
|---|---|---|
| Boss outer diameter | ≈ 2× screw major diameter | ≈ 2× insert outer diameter |
| Minimum wall thickness | 0.6–0.8 mm | 1.0–1.5 mm (more hoop stress) |
| Boss height | ≈ 2× screw diameter engagement | Insert length + 0.5 mm minimum |
| Hole size | Per screw supplier, thread-forming pilot | 0.1–0.2 mm under insert OD |
| Draft and gating | Weld line must avoid screw entry | Weld line must avoid insert zone |
| Re-open cycles | 3–5 before thread degrades | 20+ with correct torque |
| Pull-out strength | Moderate, material dependent | High, limited by boss strength |
| Extra part to stock | None | One insert per screw location |
The wall-thickness row is the one that most often kills a late change. An insert needs a thicker boss than a thread-forming screw, because the interference fit and the thermal cycle put the surrounding plastic in tension. A boss designed for a thread-forming screw usually cannot be switched to an insert without re-cutting the tool.
The Cost Question, Honestly
Inserts add three costs: the part itself, the insertion operation, and the quality control that goes with a pressed-in component. At prototype and low volume these are real — an insert might add a meaningful fraction to the per-unit price of a small controller. At volume the arithmetic changes, because the insert cost scales linearly while the failure cost does not.
The cost that is easy to overlook is the rework and field-failure cost of stripped plastic threads. A unit returned because a thread stripped is not just a replacement; it is a diagnosis, a shipping cycle, and often a customer relationship. For a product with a service life measured in years and a housing that will be opened more than twice, the insert almost always pays for itself, and the payback arrives at a lower volume than most teams assume.
For a disposable or single-assembly product, the reverse holds and thread-forming screws are the correct answer. The mistake in both directions is the same: applying a rule of thumb without checking which case the product is in.
What to Put on the Drawing
Four numbers settle most of the ambiguity, and leaving any of them off is what turns into an assembly question later:
1. Insert type and part number, including whether it is open or closed ended and what the external knurl pattern is. "Brass insert" is not a specification — the knurl pattern determines pull-out strength, and two inserts with the same thread and different knurls are not interchangeable.
2. Installation method, thermal or ultrasonic, with an explicit note if either is acceptable. If the design assumes ultrasonic depth control, a thermal inserter will produce units that pass visual inspection and fail pull-out test.
3. Seating depth and flushness, as a tolerance rather than a nominal. The screw needs the insert to sit at a defined height so it clamps instead of bottoming.
4. Assembly torque for the mating screw. This is the number that prevents cross-threading and insert spin-out in production, and it is almost never on the drawing.
If those four are specified, the assembly house can confirm feasibility, quote the operation, and build a repeatable process. If they are not, the assembler will pick a default — and the default will be whatever is quickest on the line, not what the design needed.
Where Huaxing Sits in This
Box-build and final assembly are done in our own facility in Bao'an, Shenzhen, alongside the SMT and through-hole lines — so the housing, the boards and the fastening operation are not three separate suppliers with three interpretations of the drawing. Insert installation is quoted per unit with the tooling and method stated, and the pull-out check is recorded per lot for insert-based designs.
If the enclosure is still in design, sending the boss detail and the intended service cycle count is enough for us to say which method the current boss will support, and what would have to change if it will not. That conversation is cheap before tooling and expensive after.